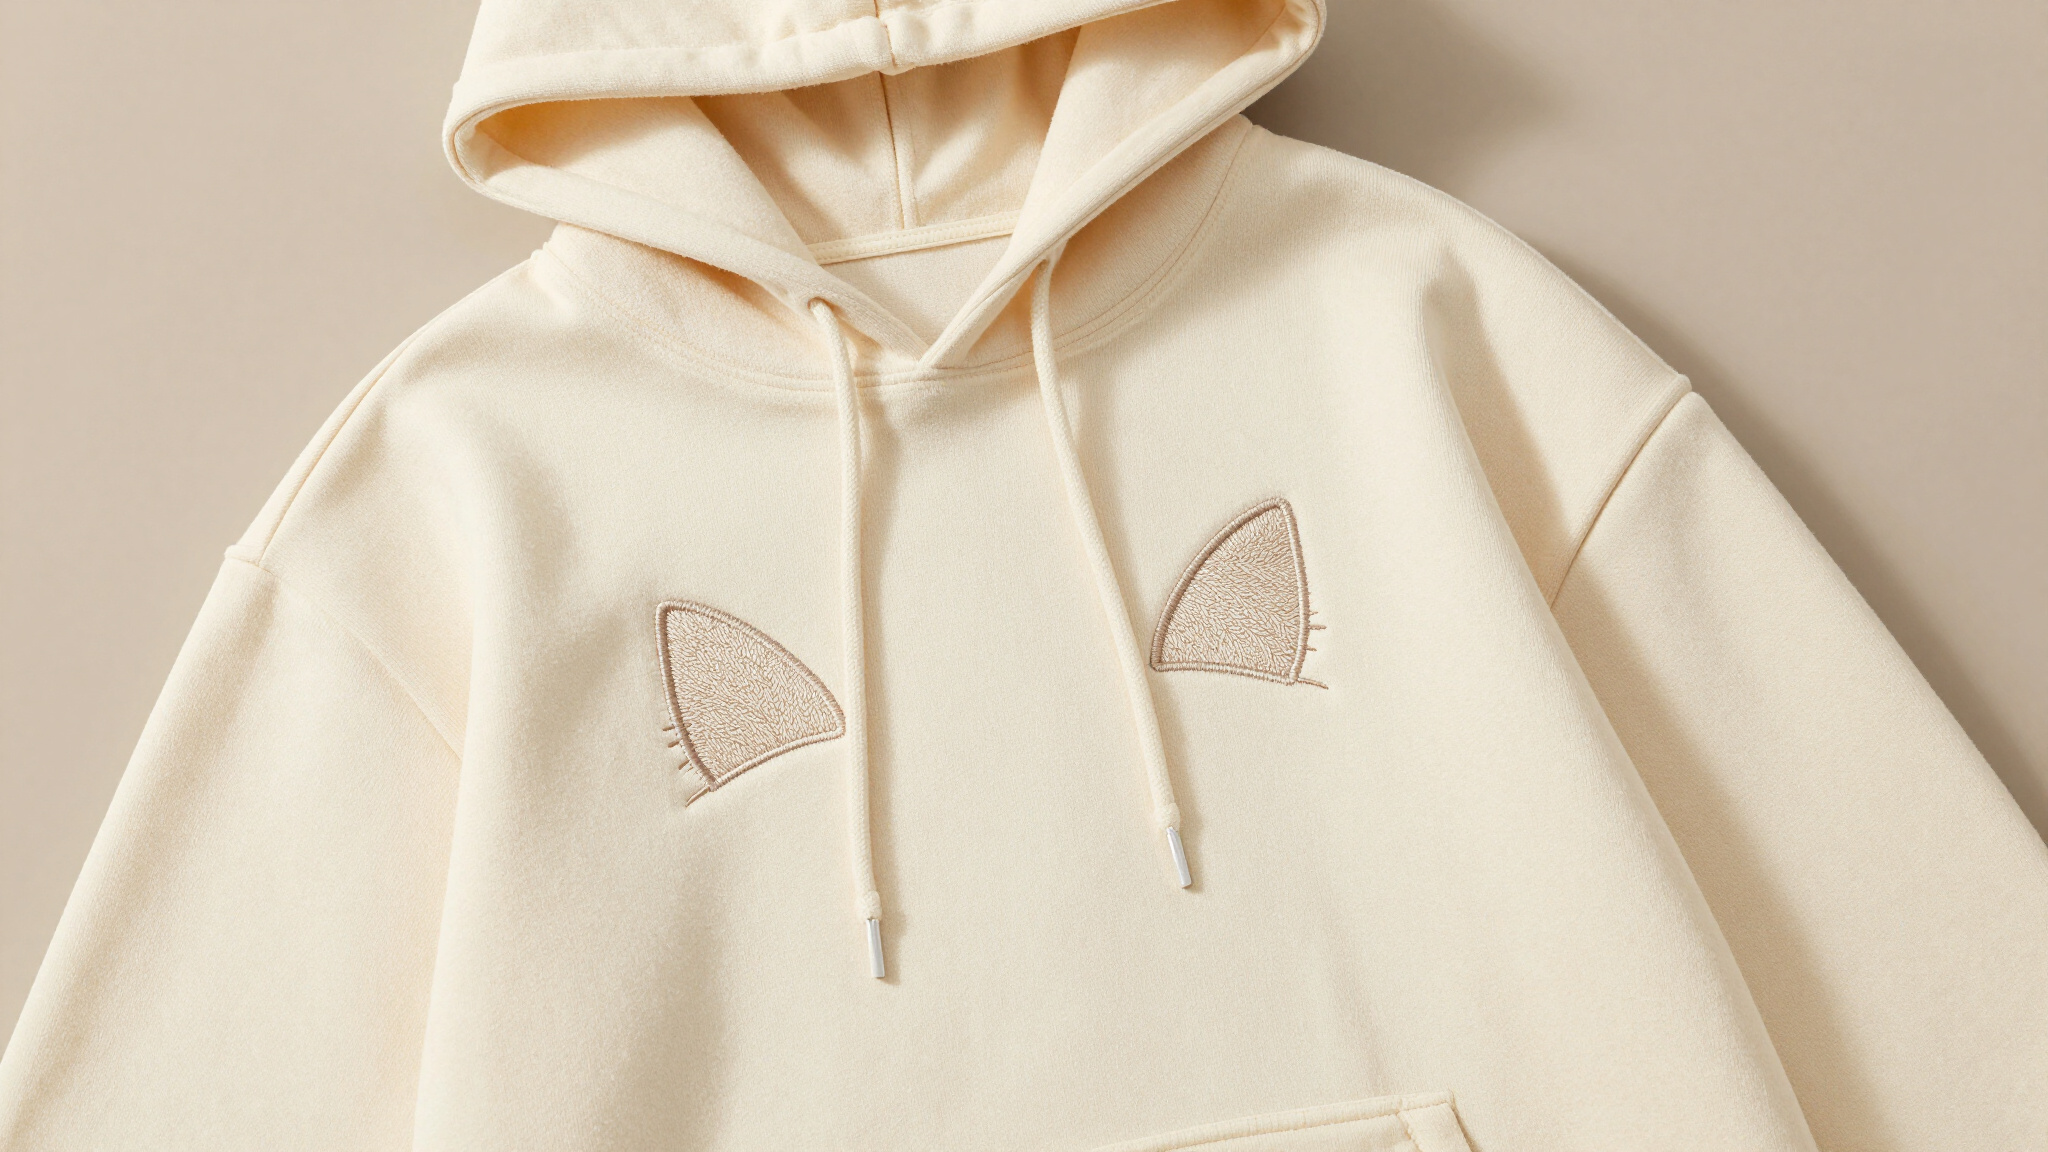
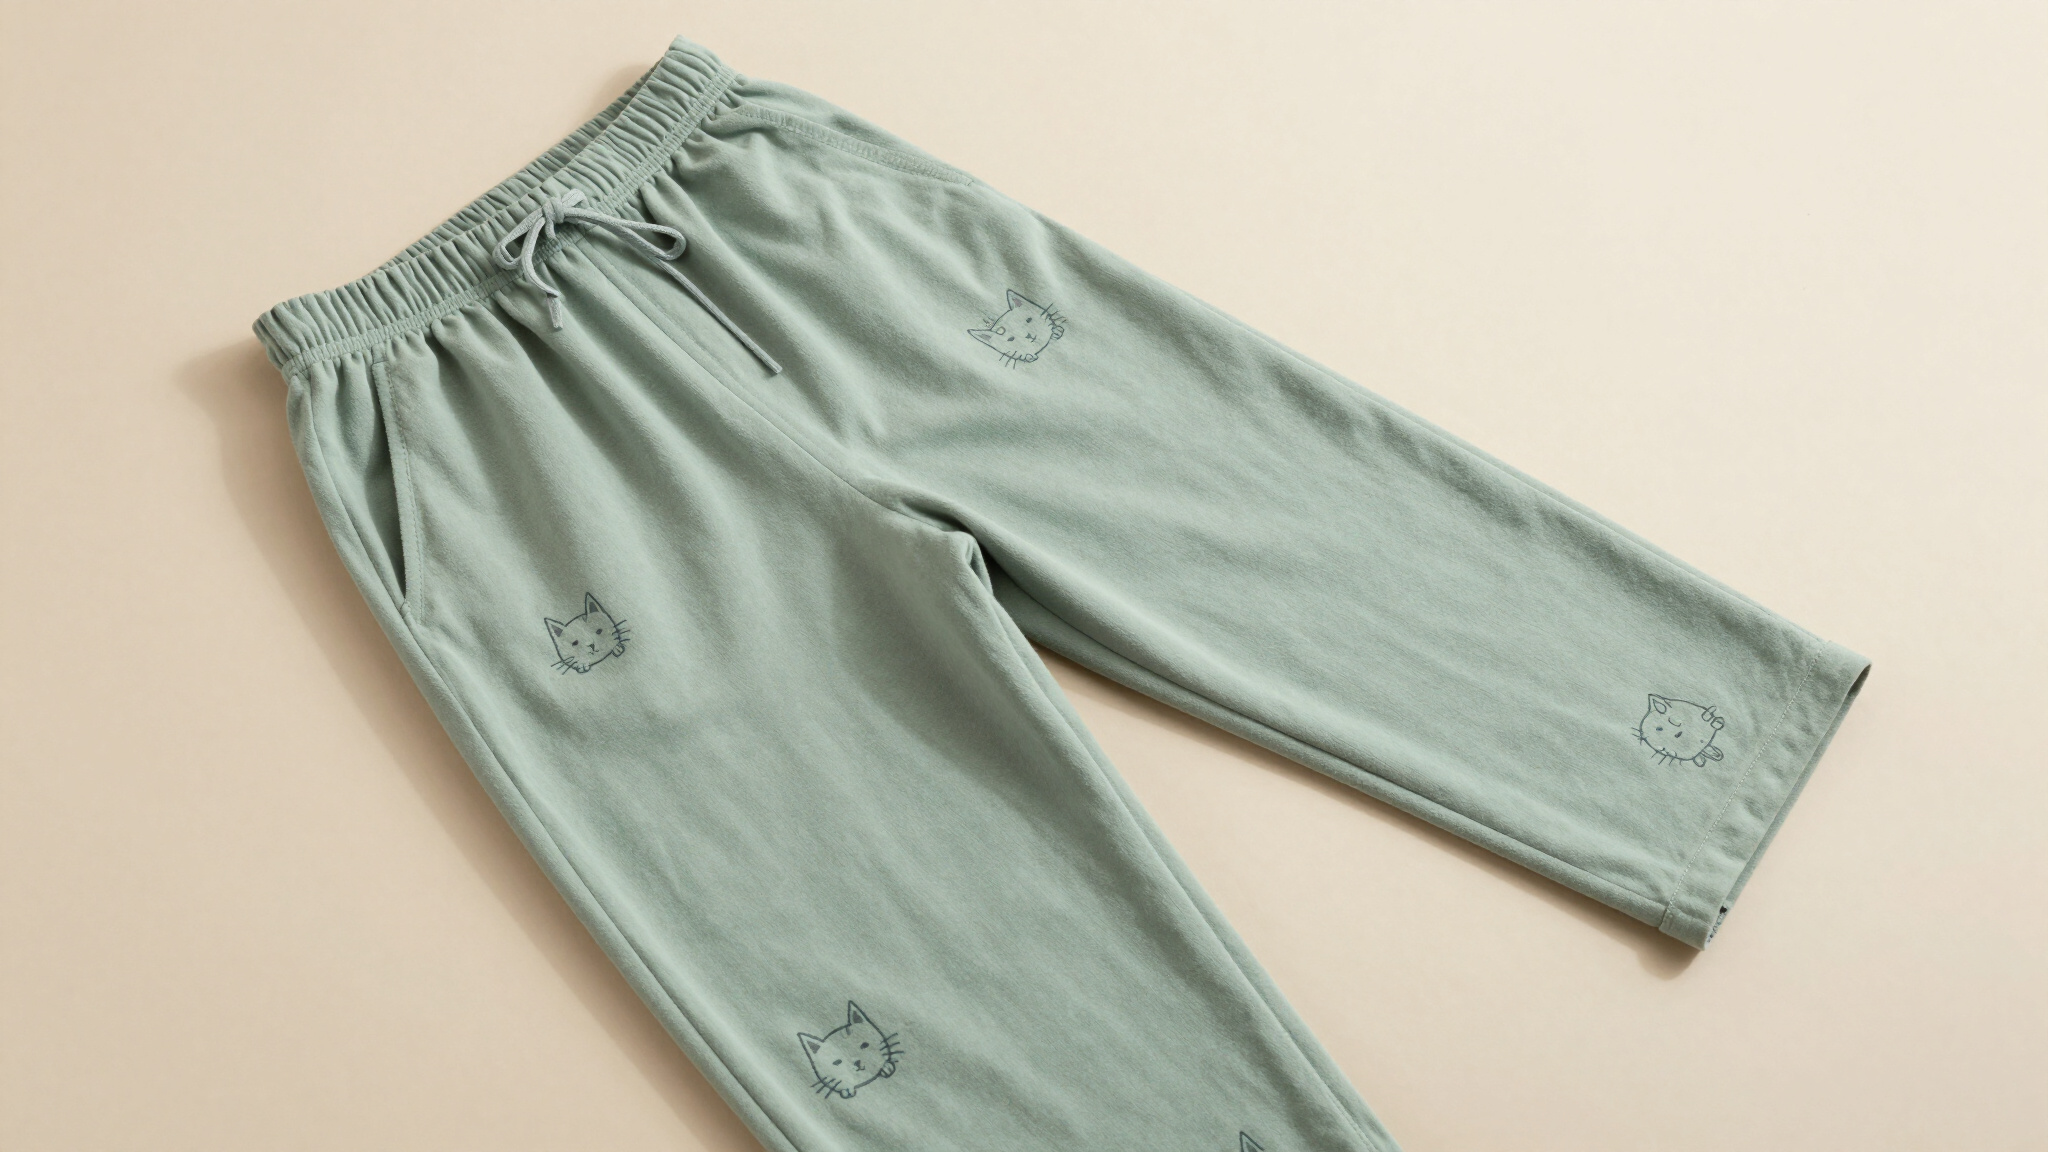
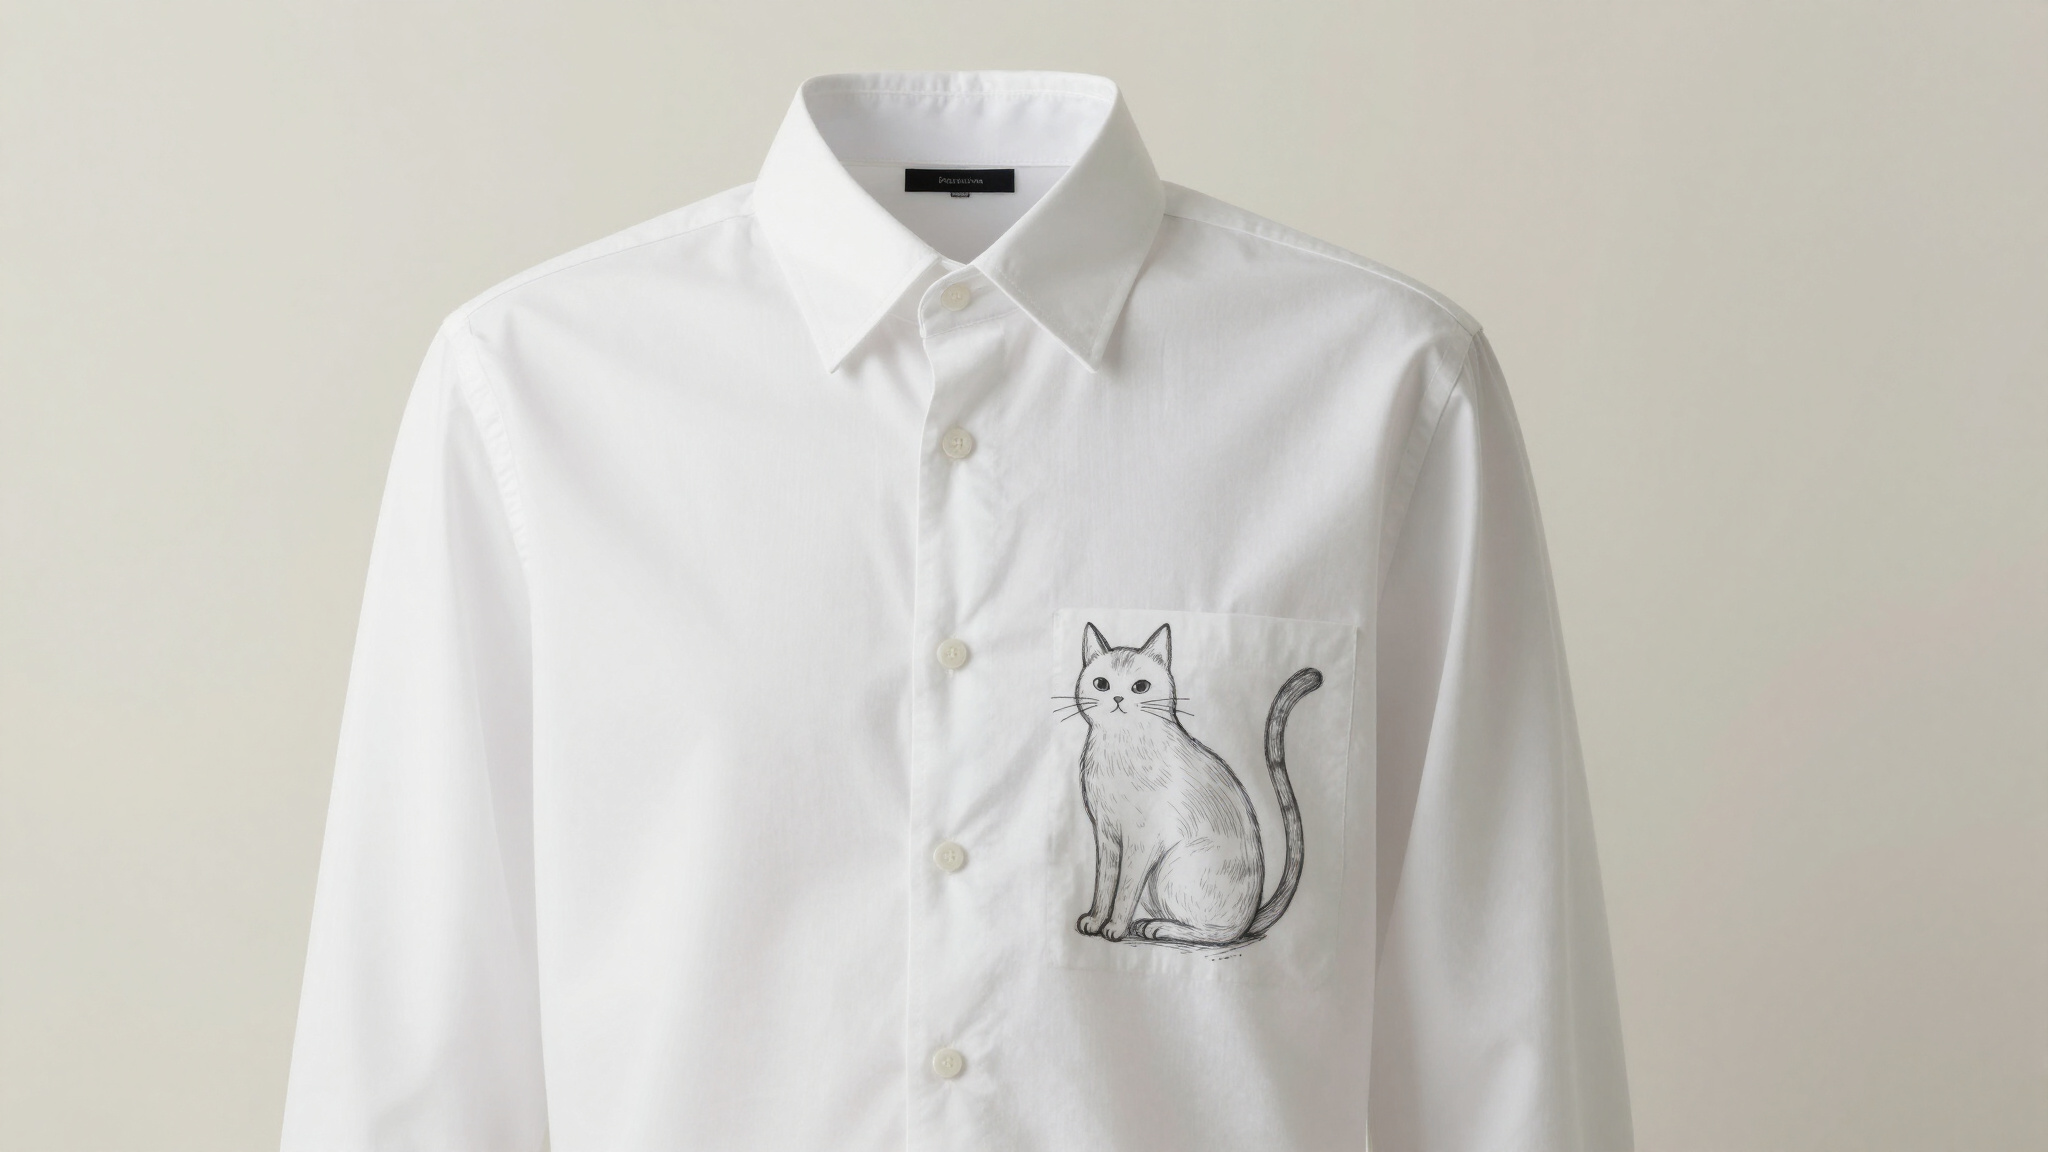
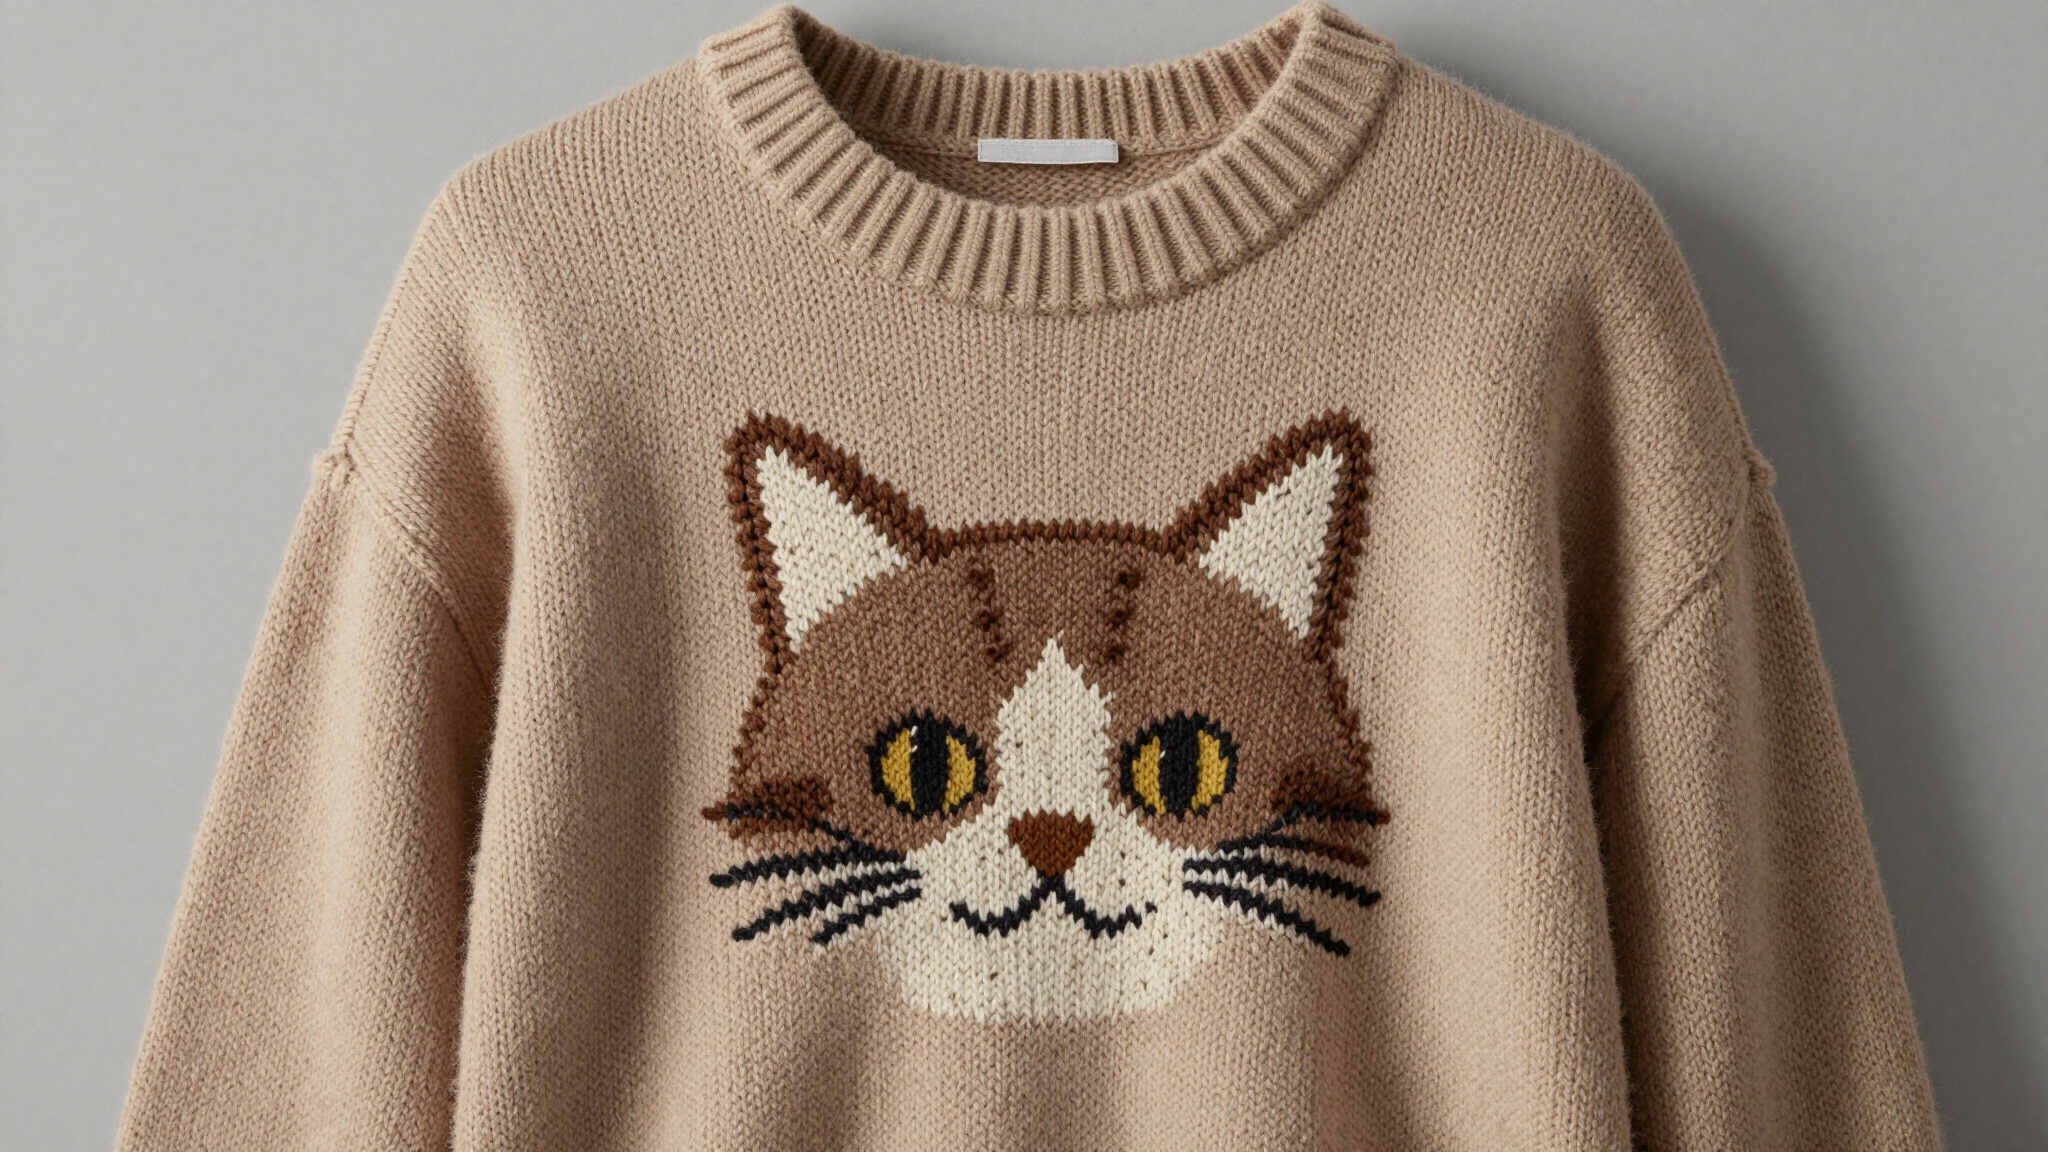
Tutorials
![]()
![]()
HOW TO USE DIGITAL STAMPS/IMAGES
1. After you have downloaded and unzipped your Doodle Palace image, open a MS Word Document.
2. On the top toolbar, chose “Insert”, then “Picture”, then click “File” and choose the location of your Doodle Palace image. See below.

This inserts your image into the document as shown below.

3. In order to edit/manipulate the image, you need to use the Format Picture dialog box (or toolbar). You can double click on the image to bring up the dialog box, or use the toolbar as shown below.

4. By choosing the following layouts, you can more easily manipulate your image, and you can also click and drag your image for placement on the page. This reduces paper waste, and you can add as many images as you like on one page to print. Use the other tabs in this dialog box to size an image to exact specifications or add a border/frame around the image.

You can also use the corners/handles of your picture to manipulate how you like. NOTE: If you hold the “control” key down while you drag the corners, the image will stay proportional and not skew.

5. Once you are finished manipulating the image, place the image where you want and you are ready to PRINT! Now it’s off to coloring! See below for a great tutorial using mineral spirits and color pencils.
![]()
![]()
HOW TO COLOR DIGITAL STAMPS/IMAGES
One of Doodle Palace’s past design team members, Michelle Redman, put together a great coloring tutorial to show how to shade and create depth when using digital stamps/images. Thanks, Michelle! She prefers to use: Color Pencils from light to dark, Blender Stump, and Odorless Mineral Spirits. Other great coloring utensils include copic markers or watercolors. Click on the picture below to view the tutorial or click HERE.
![]()
![]()
